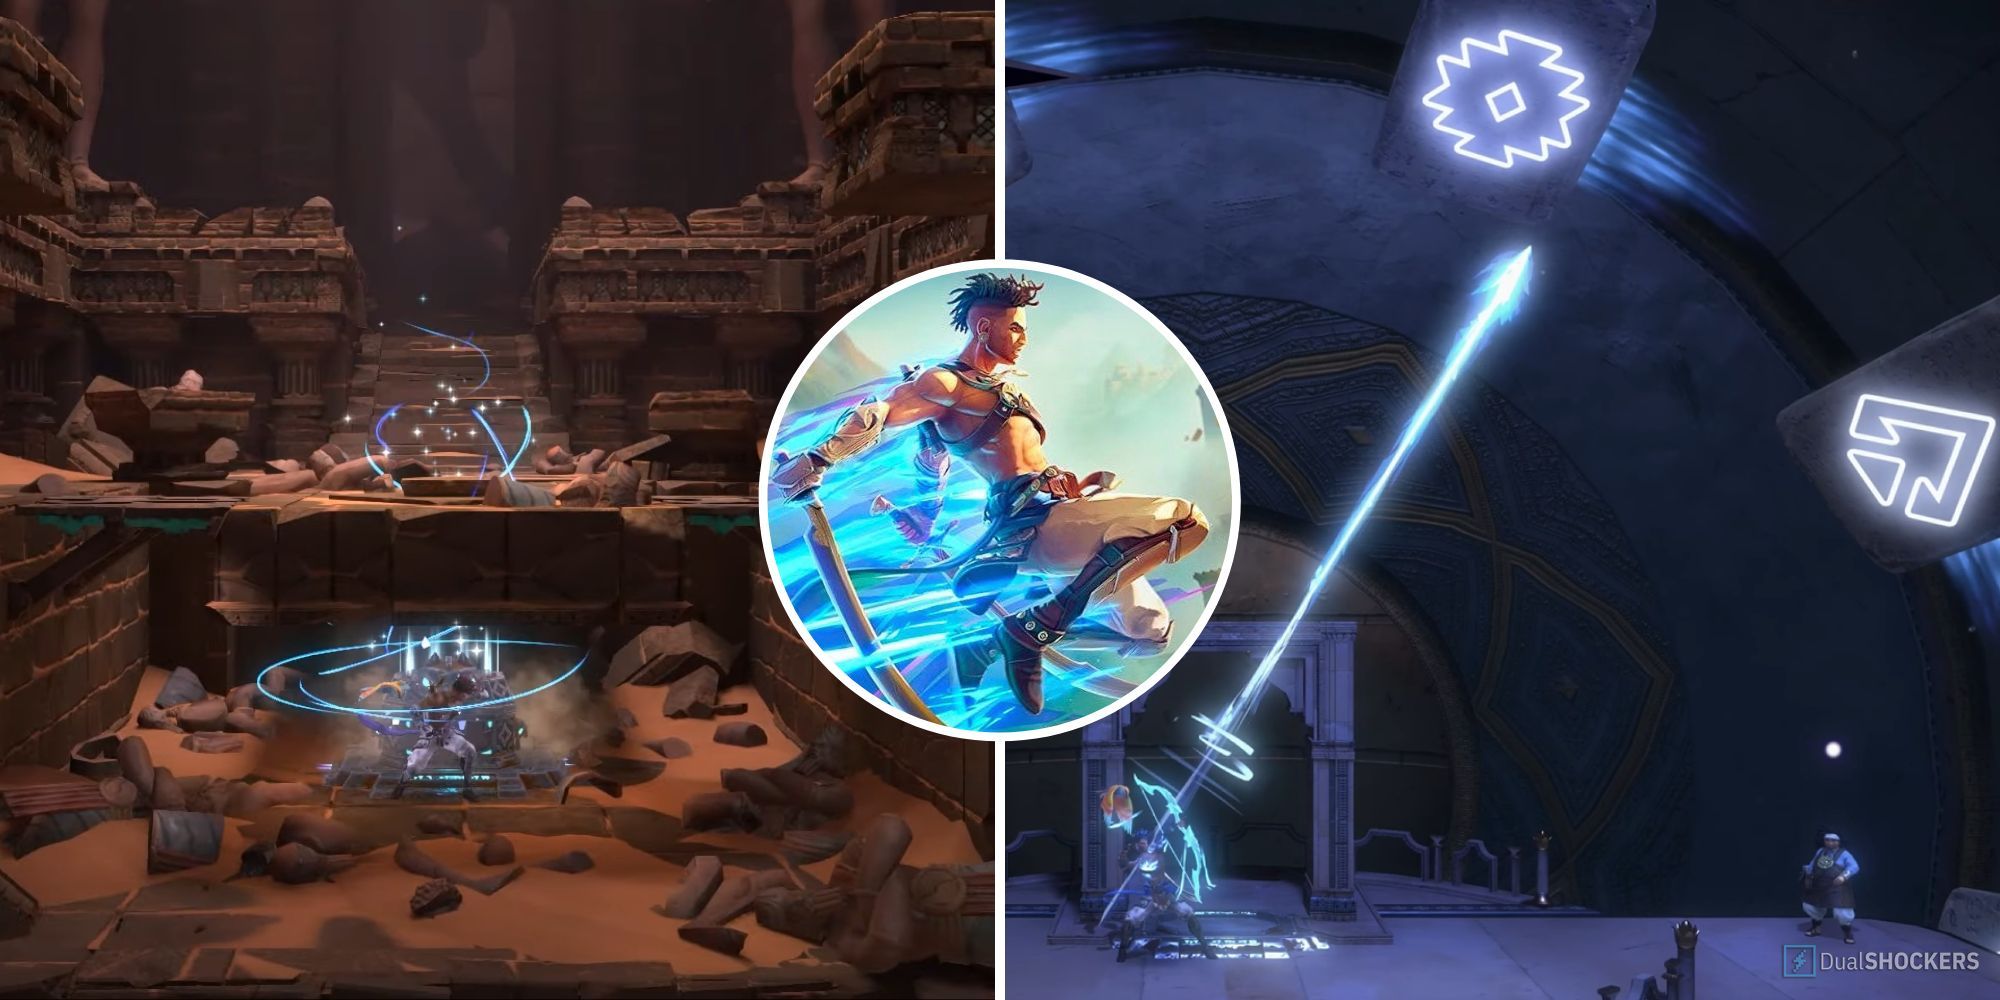
If you’re struggling with any of the hidden secret chests in Prince of Persia: The Lost Crown, this guide can help!
Prince of Persia: The Lost Crown has plenty of merits as to why players will love it. It features incredible combat that comes with it being one of the best Medroidvania games — along with some challenging boss battles. It has plenty of locations to explore and marvel at the atmosphere they each provide. As well as having many secrets that players will need to discover through platforming or puzzle-solving — so you’d better master all the basics.

Prince Of Persia: The Lost Crown – How To Get To Pit Of Eternal Sands
It can be tough to reach Prince of Persia’s Pit of Eternal Sands, but this guide can help!
There are 9 hidden chests that players will be able to come across while doing the Side Quest known as The Architect. — and they are scattered throughout the game. This means you will come across them as you continue to progress through the story and become more powerful. They don’t all house the same rewards, making each opening quite exciting.
Prince of Persia: The Lost Crown
- Released
- January 18, 2024
Every Hidden Chest Location & Solution

You will see a special pedestal on the ground whenever there is one of these hidden chests set to appear, so you may have already come across one and are not quite sure what to do to get the chest to spawn. Below will be a table for each of these hidden chests, where they are located, what you need to do, and what reward you will find within them.
|
Chest Number |
Location |
Description |
Reward |
Image |
|---|---|---|---|---|
|
Hidden Chest 1 |
Lower City |
Keep traveling left from Haven and you will see two statues that face each other that are aiming their bows. There is one statue on each side of the hidden chest pedestal. Stand at the pedestal’s location between these statues, aim straight up with your bow, and fire an arrow upward. |
Zurvan’s Voice (Amulet) “Slow down time while aiming the Chakram, drawing Moderately from your Athra meter.” |
 |
|
Hidden Chest 2 |
Hyrcanian Forest |
From the top left Wak-Wak tree of Hyrcanian Forest, drop down to the floor of the current room and head all the way right. You will find the hidden chest pedestal, as well as some arrows to the right of it. You will see long pink blades of grass on 4 of the nearby platforms. Use the bow to destroy all the grass on these platforms — make haste though, as the grass will regrow over time. |
Soma Tree Petal x1 |
 |
|
Hidden Chest 3 |
Sacred Archives |
Go to the hidden chest icon provided in the image to the right. At this location, you will find a wall with 9 red symbols on it. Passing over a symbol will have a large stone block slam onto the symbol. You will need to highlight several of these symbols at once for the chest to spawn. The easiest way to trigger these symbols is to make your way up the wooden platforms on the right of these symbols and then jump up to the wooden platform above these symbols. Drop down to the top right symbol, as you pass into the second row, dash to the left to highlight the whole middle row and fall down. Now run to the right and touch the bottom middle symbol. You can see an example of these symbols lit up in the above image — as well as the chest spawning. |
Amulet Holder |
 |
|
Hidden Chest 4 |
Sacred Archives |
Head to the marked location on the image to the right, and you will find 3 NPCs in glowing circles. There is one more circle on the ground. Go onto this circle and crouch down to make the chest appear. |
Soma Tree Petal x1 |
 |
|
Hidden Chest 5 |
Pit of Eternal Sands |
For this chest, you will need to fast travel to the Pit of Eternal Sands. Drop down and defeat the enemy below. To the right of this enemy, you will find a stone with yellow cracks. Use your Dimensional Claw power to pick this ball up and climb the steps on the left. Aim and use your Dimensional Claw in the middle of the floor to break open a pathway. Grab a second stone and follow the path to a dead end that you can break open with this second stone. Head back to the fast travel point and go to the Upper City. Use your Dimensional Claw on a living statue in this area and bring it back to the entrance at the Pit of Eternal Sands. Keep following the path left and you will come to a ledge. Release the enemy above the gap to have it fall into a trap. This will spawn the chest at the bottom of this room. If that sounds a little complicated, there is a much more in-depth guide provided for getting this chest. |
Soma Tree Petal x1 |
 |
|
Hidden Chest 6 |
The Depths |
Head to the marked location on the image provided. You will find two faces on either side above the hidden chest pedestal. When you move in front of either of these faces, it will make the face glow. Simply leave behind a copy of yourself in front of one of them — this way it will stay lit up. Then jump in front of the other face for the hidden chest to appear. |
Shockwave (Amulet) “Create a small shockwave when destroying your Shadow teleport marker” |
 |
|
Hidden Chest 7 |
Sunken Harbor |
Head to the southeasternmost point of Sunken Harbor. You will Find a Tic-Tac-Toe board. The top row has two “O” marks on it. Warning, the chest that is about to spawn in is actually a monster, so do not get caught off guard. Throw your Chakram so that it spins in the square on the left of these marks. This will summon a mimic enemy that you will need to kill to get your reward. |
Ard’s Fortune (Amulet) “Slightly increase the number of Time Crystals dropped by defeated enemies” |
 |
|
Hidden Chest 8 |
Soma Tree |
From the Fast Travel point on the image provided, move into the room on the left make your way all the way up, then continue left. You will find some purple blobs on the platforms of this area. Use your Dimensional Claw to scoop up one of these blobs and then keep moving left to find a sealed door. Aim and use the purple blob to break open this door. Head left through this entrance and follow the path, avoiding the other purple blobs in this area. You will now be in a puzzle room with several statues on some pedestals. There is a stele on the left side next to one of these statues. There are two statues other than the two you see currently on pedestals. You will need to make use of your Dimensional Claw again, but this time on the statues. Move the statue closest to the stele off its pedestal, and move the other statue from the middle pedestal to the pedestal on the right of it. The first extra statue is in a location above this room, and the second statue is in a room below it. You can head along the path to the left of the stele and then follow the path upward to find a red statue. You can use your Dimensional Claw to scoop up this red statue and put it on the pedestal closest to the stele. Go to the right where the entrance to this area is and drop from the wooden platform. Keep going down and use your Dimensional Claw to scoop up the second statue and head back up. Place this statue on the middle pedestal. Interact with the statues so that the statue from the top and the statue from the bottom are both looking towards the entrance, and the statue on the rightmost pedestal is looking towards the stele in the room. This will solve the puzzle and the chest will spawn to the right of the stele. |
Azure Damascus Ingot |
 |
|
Hidden Chest 9 |
Tower of Silence |
Head to the marked point on the image provided, and you will find an enemy. Defeat this enemy and stand at the hidden chest pedestal. As you move to the left, you will see the background structure will become more and more “complete.” Find the ideal spot where the middle part forms a circle. This can be done by just walking left or right until a circle forms. Throw your Chakram into the formed circle and the chest will spawn. |
Soma Tree Petal x1 |
 |

Prince Of Persia: The Lost Crown – What To Do With The Lost Key
Prince of Persia: The Lost Crown’s Scrapper vendor sells The Lost Key. This guide details what to do with it to earn a new Amulet and Skin.
The Architect Constellation Puzzle

After you have collected all the hidden chests, you can now complete the Side Quest called, “The Architect.” Go and meet up with Maryam the Architect in the Upper City. You will see there are several symbols rotating in a circle when you arrive. What you need to do is use your arrow to hit each symbol in the correct order. On your map, you will be able to find each of these symbols, along with a number. You can use the image provided above to see the exact order of symbols you will need to hit. Hitting the correct symbol will have it light up as blue. However, hitting the wrong symbol will cause the symbols to light up red. This will open up a portal once all of the symbols are glowing blue. Turn in with the Architect to get a Soma Tree Flower as your reward.

Prince Of Persia: The Lost Crown – How To Perfect Parry
If you’re having a tough time mastering Prince of Persia: The Last Crown’s parry mechanic, this guide is here to help!