
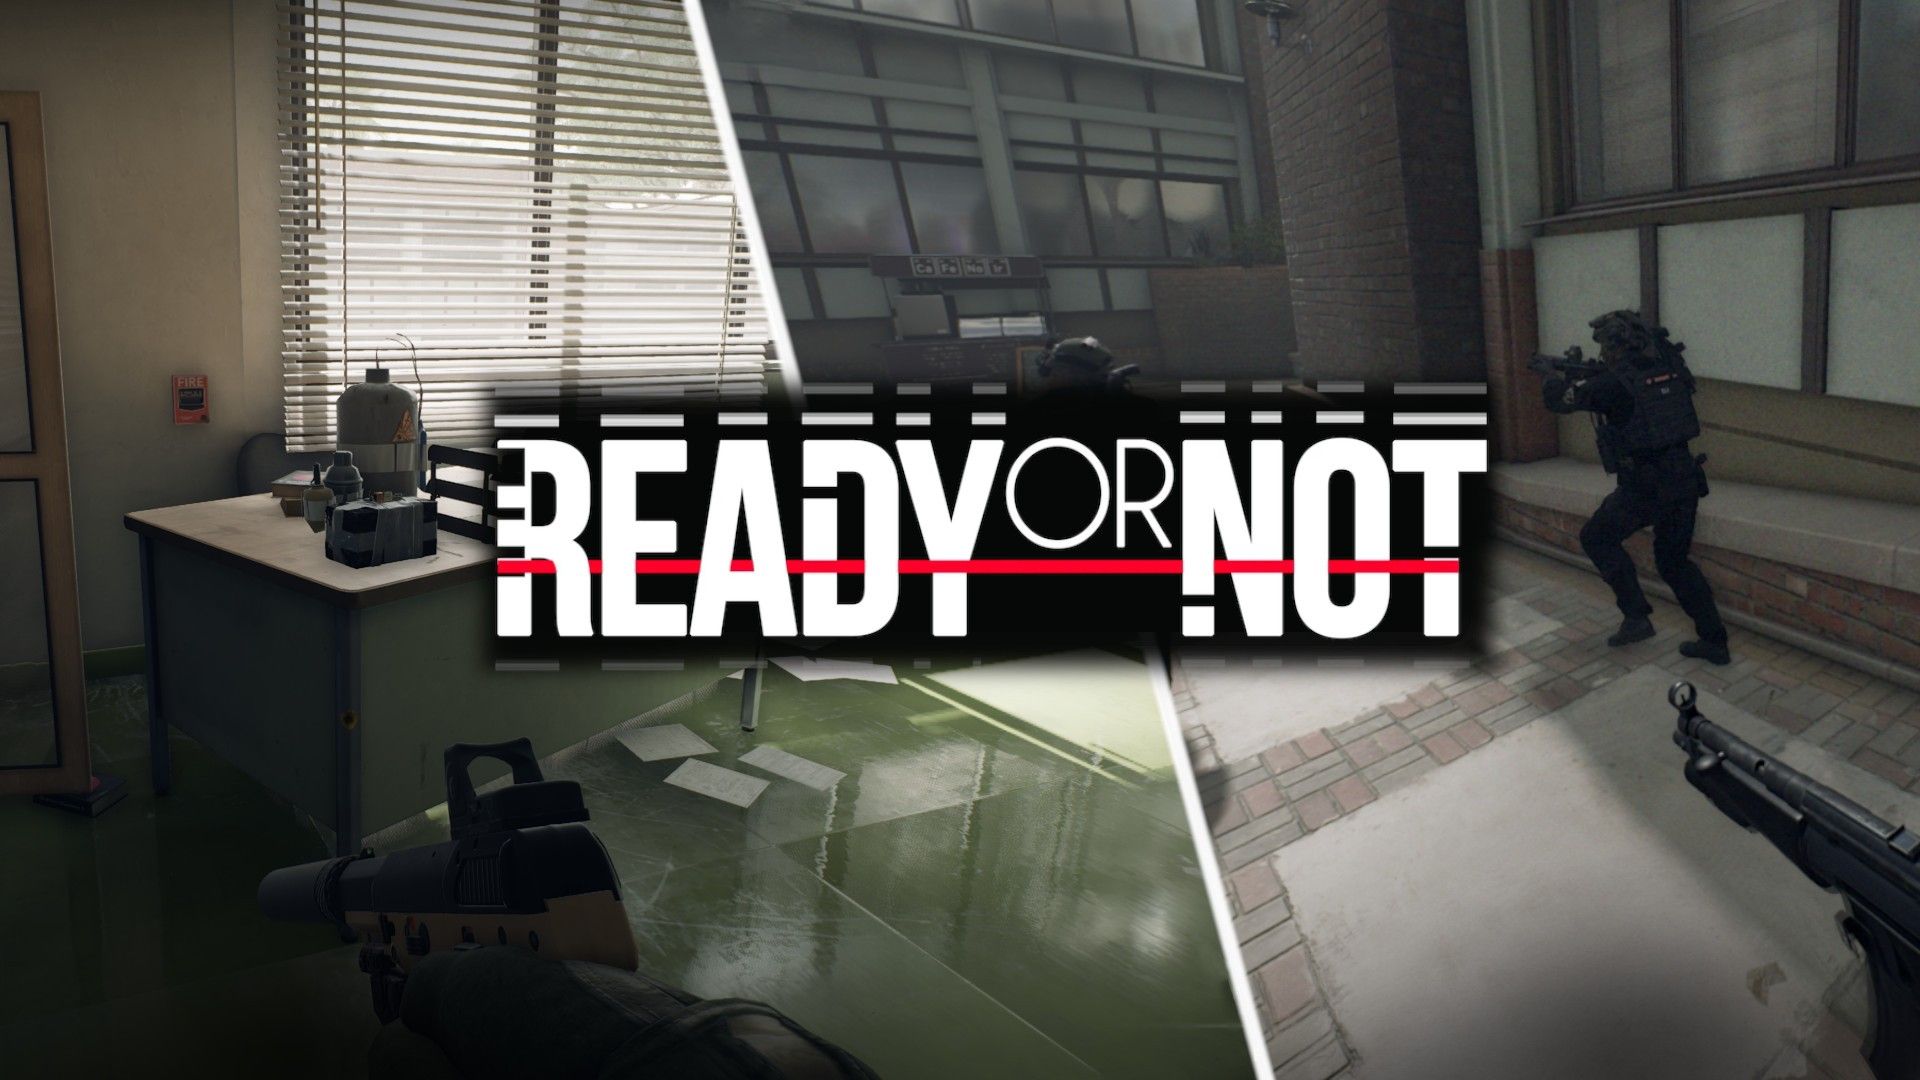
Elephant is one of the most controversial levels in Ready or Not, and it is also a royal pain in the rear, thanks to the large map and less-than-friendly suspects involved. This is a mission that requires good tempo from the team leader, as any second wasted can and will result in civilian deaths.
The mission is heavily inspired by Gus van Sant’s homonymous 2003 movie, except that rather than hitting up a school, LSPD’s SWAT team needs to rescue the students at Wyatt Community College in Los Sueños.
If you are of the more LARPing inclination, most of the time, similar incidents are actually addressed by first responder teams: patrol officers that just happened to be nearby and are not packing more gadgets than a Rainbow Six Siege operator.
Whatever the case, this mission requires speed and precision to execute well. Anything short of perfection results in even more civilian deaths, and if you are caught slacking even a little bit, the whole building can go up in flames, and your precious SWAT team with it.
Ready or Not: Elephant Tips
The shooting in Elephant takes place in the Wyatt Community College campus, a fairly large building with two floors and split between two wings. Most of the facility is comprised of large rooms connected by narrow corridors, with a handful of open areas around the main stairs and the entrance.
The west wing of the building in particular has multiple entry points to most of the rooms, so it is crucial to account for that when planning a breach, unless you like suspects running around flanking your unit or killing civilians while you run them down.
Although the map has fully modelled exteriors to the front and back of the building, neither suspects nor civilians can spawn outdoors, so you can rush straight inside without worrying about the surroundings.
Based on 911 calls and the briefing, you are told to expect a bare minimum of two shooters, with likely more on the roam. In reality, there are four suspects in total.
All of the suspects in Elephant are wearing body armor and have assault rifles in hand. Although they can wear gas masks, they are not functional, so CS gas still works against them. In other words, that cute lightweight stab vest and MP5 loadout won’t cut it here.
Because they are messed-up teenagers rather than disgruntled veterans or cartel members, the shooters have no combat training and are extremely predictable in how they act.
Although there are four of them, the suspects will not use any complex squad tactics, and their only mutual support comes from morale boosts when in proximity to one another.
Upon hearing or spotting the SWAT team, shooters in Elephant tend to engage in suicide charges, rushing alone straight toward the officers while firing their rifle. This makes them relatively powerless against a coordinated element, but it is easy to lose someone if you stay exposed for too long.
Because of this aggressive behavior, I like taking a gun that will drop a suspect immediately in case I get jumped. The best weapons in Ready or Not for that are shotguns and 7.62x51mm rifles, like the M14 or the SA-58. The walls in Wyatt Community College are pretty beefy, so overpenetration is not as much of a concern.
The main headache brought about by Elephant is that the suspects (as is typical in these situations) have a nasty habit of executing civilians left and right as the mission draws on. Once you reach the two-minute mark after the mission starts, the shooters begin to roam and shoot survivors they come across.
I’m sure you’re a tacticool genius who wedges a door even when you go get a glass of water, but for those in the back: block areas with civilians, or risk a shooter sneaking through and killing someone you had already secured. Happened to me, and I still feel bad about it.
Since you have limited time to neutralize all suspects, you need to maximize the ground covered by your team without sacrificing mutual support. In other words, if you enter a hallway and see two doors, send red to one and blue to the other to save some time.
Picking the right loadout for you and your team helps keep up the pace. All doors in the college campus are heavy, metallic ones. Perfectly fine to open with the handle,
Securing evidence, and even civilians, depending on the situation, can also wait until you’ve taken out or arrested the suspects.
Ready or Not: Elephant Bomb Locations

As if shooting defenseless students isn’t bad enough, the four suspects at Wyatt Community College decided it would be a good idea to blow the building to smithereens… with you and everyone else inside it, of course.
This detail was inspired by the Columbine shooting, where the two shooters planted explosives that failed to detonate. Unlike the real deal though, the bombs in Elephant are quite functional and will kill everyone in the building if you don’t defuse them within the allotted time.
From the moment your team arrives at the scene, you have approximately 18 minutes to find and secure two bombs. You can check TOC’s estimated bomb timer on your tablet, though this is an imperfect estimate because the shooters forgot to CC the police when they planted the explosives on site.
To keep things interesting, the bombs in Elephant have dynamic spawn locations. Eight of them, to be exact. The bombs emit a fairly loud beeping sound that can be heard from outside the target rooms, so you can pick them up while travelling through the map.
Because you have 18 minutes to handle the bombs versus 2 minutes for the suspects to start capping people, you can leave the bombs for later in the mission. If you start getting tight on time, TOC will warn you about it.
The first aggravated radio message comes when there are around 180 seconds left for the fireworks. The trouble is, it takes you about twenty seconds of tinkering to disable each bomb, so if you’re told you have a minute left… well, that’s curtains for you and your team.
Here is the lowdown on all possible Elephant bomb locations, so you don’t spend your day wandering around campus like a lost teenager. Only two of these are ever active at the same time, and the mission does not have any exclusion criteria for which one is active. If you’re lucky, you can have both bombs spawn in neighboring rooms, for example.
East Wing Bombs
The east wing of Wyatt Community College is home to four bomb spawns. Fortunately for you and your team, they are concentrated on the top floor of the building, which is fairly easy to navigate.
The bombs can spawn in the following areas:
- Teachers’ Lounge
- Lab 202
- Lab 203
- Main Stairway Landing
West Wing Bombs
Just to keep things fair, the West Wing bomb locations are mostly located on the ground floor of Wyatt Community College. This part of the building has more interconnected rooms and hallways, which makes it a lot easier to both get lost and ambushed by a cheeky suspect with a death wish.
The potential bomb spawns here are in the following areas:
- Lecture Hall
- IT Lab 103
- Atrium Lounge
- Desk by the Stairway
Two of the bombs here are placed inside rooms, while the other two are in open areas. Don’t even think about defusing the latter two without clearing the rest of the building, as it is extremely easy for shooters to barge in and end your Iron Man run while you try to remember if you should cut the red or the green wire.
The bomb by the stairway is the only one in the West Wing that’s located on the second floor, sitting opposite the northern entrance to the college library. This area is practically guaranteed to have at least one armed suspect, so tread carefully.

Ready or Not

- Released
-
December 13, 2023
- ESRB
-
m
- Developer(s)
-
Void Interactive
- Publisher(s)
-
Void Interactive
- Engine
-
Unreal Engine 4